Creating stunning metal photo prints involves several steps, from selecting the right photo to choosing the best printing method and finishing options. The photo prints on metal are known for their vibrant colors, durability, and modern aesthetic. Here’s a detailed guide on how to create them.
1. Choose the Right Photo
Start with a high-resolution image. The photo prints on metal showcase sharp details and vibrant colors, so the photo needs to be of high quality. Images with bright colors, high contrast, and fine details work particularly well. Landscapes, cityscapes, and abstract photos are popular choices for metal prints.
2. Edit Your Photo
Before printing, edit your photo to enhance its features. Use photo editing software to adjust brightness, contrast, saturation, and sharpness. Pay attention to the color balance as metal prints can emphasize hues. Crop the image if necessary to fit the desired dimensions.
3. Select the Printing Method
There are two primary methods for creating metal photo prints: dye-sublimation and direct printing.
- Dye-Sublimation: This method involves infusing dyes directly into specially coated aluminum sheets. It results in vibrant, long-lasting images with a glossy finish. Dye-sublimation prints are resistant to moisture, scratches, and UV rays.
- Direct Printing: This involves printing the image directly onto the metal surface using UV-cured inks. This method allows for a matte or glossy finish and can also produce high-quality results, though it may not be as durable as dye-sublimation.
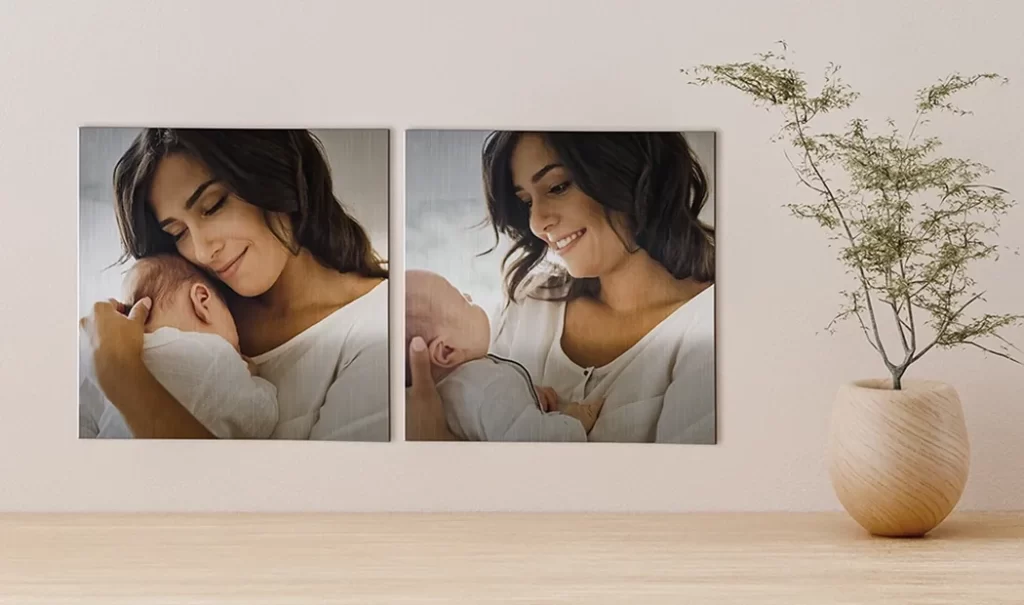
4. Choose the Right Metal and Finish
Aluminum is the most common metal used for photo prints. It is lightweight, durable, and provides a sleek, modern look. You can choose from different finishes:
- Glossy: Offers a shiny, reflective surface that enhances color and detail. Best for images with bright colors and high contrast.
- Matte: Reduces glare and fingerprints, ideal for softer images and black-and-white photos.
- Satin: A mid-gloss finish that balances the benefits of both glossy and matte surfaces.
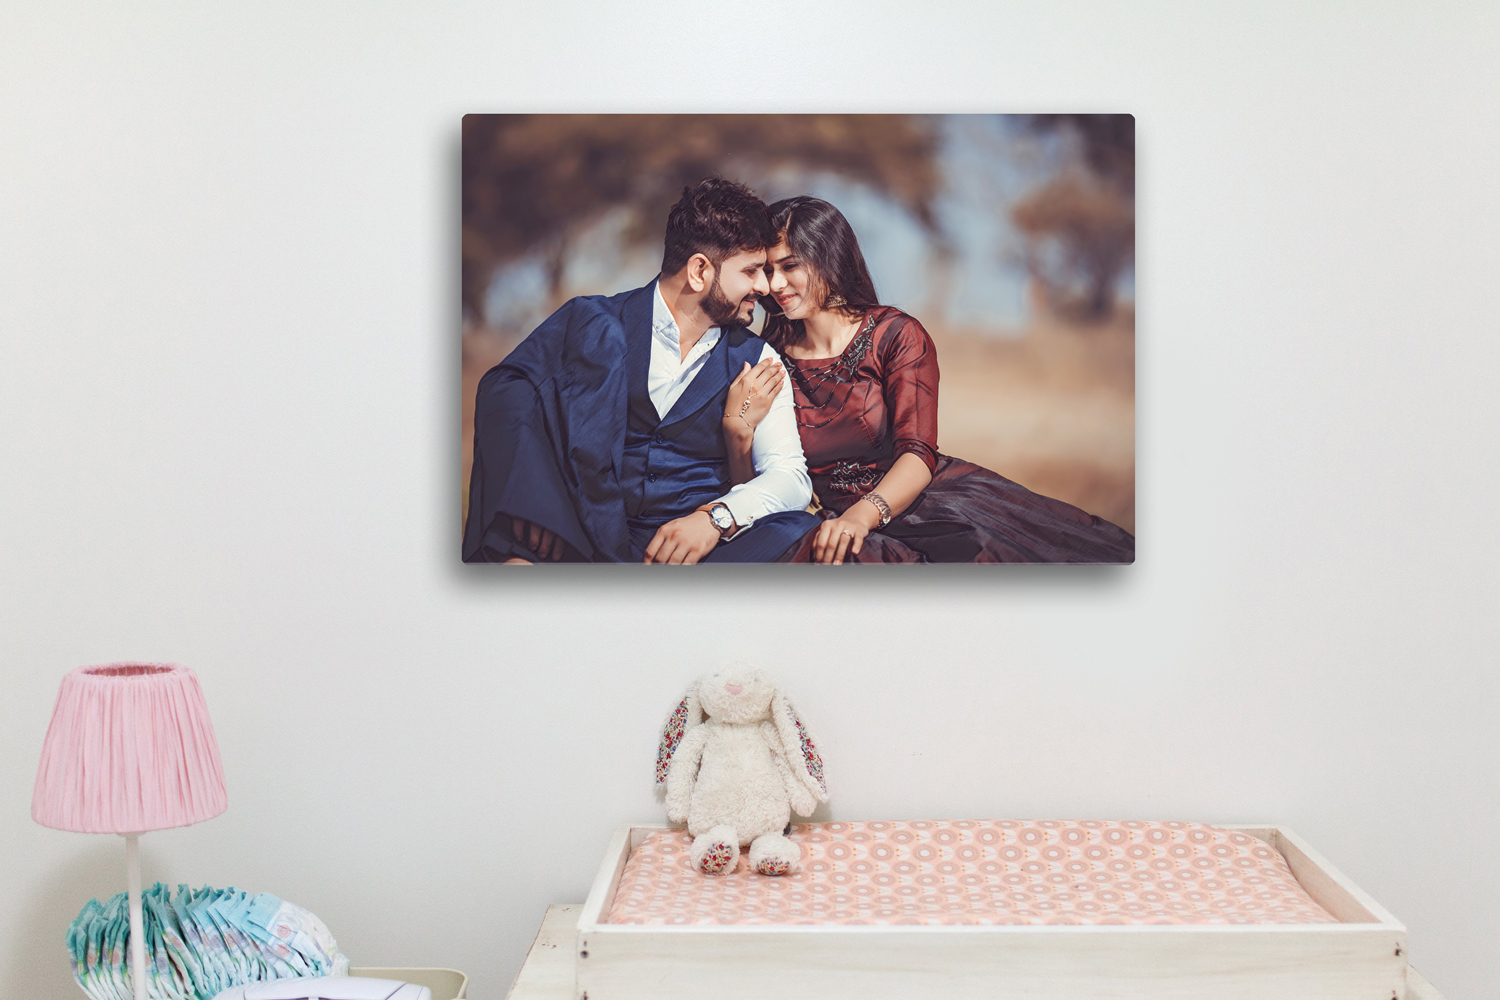
5. Select Mounting and Display Options
Mounting options enhance the presentation of your metal photo print. Common choices include:
- Float Mount: The print appears to float off the wall, creating a dramatic effect.
- Flush Mount: The print is mounted flush against the wall for a sleek, modern look.
- Frames: Some metal prints can be framed to add a classic touch.
6. Print and Inspect
Once all choices are made, proceed with printing. After printing, inspect the metal print for any defects such as color inconsistencies or surface imperfections. Quality control is crucial to ensure the final product meets your expectations.